")

")
")
")
")
")
")
")
")


SOBIESZEWSKA ISLAND
Guide from Campsites in Poland
Guide to registering your vehicle in the eToll payment system
This is a very detailed guide for travellers planning to visit Poland with a vehicle whose total weight is 3.5 tonnes or more.
To register for eToll, follow the steps below
The guide walks you through account creation, billing account setup, vehicle registration, OBE/mobile app setup, top-up, final checks and refund after the trip.
Recommended device before you start
We strongly recommend creating your e-TOLL profile on a desktop computer or tablet. The registration process includes several forms, document uploads and account checks, which are much easier to complete on a larger screen. In practice, completing the full registration on a mobile phone may be very difficult or even impossible.
Create account
Visit www.etoll.gov.pl
Open the official e-TOLL website at www.etoll.gov.pl.
Create account
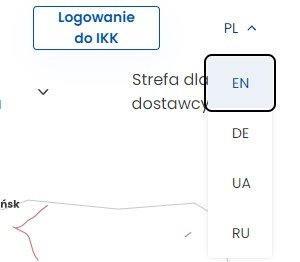
Choose language: EN - English
In the top-right corner of the page, choose the language from the dropdown: EN - English.
Create account
Click “Sign in to OCA”
In the top-right corner of the page, click the Sign in to OCA icon.

Create account
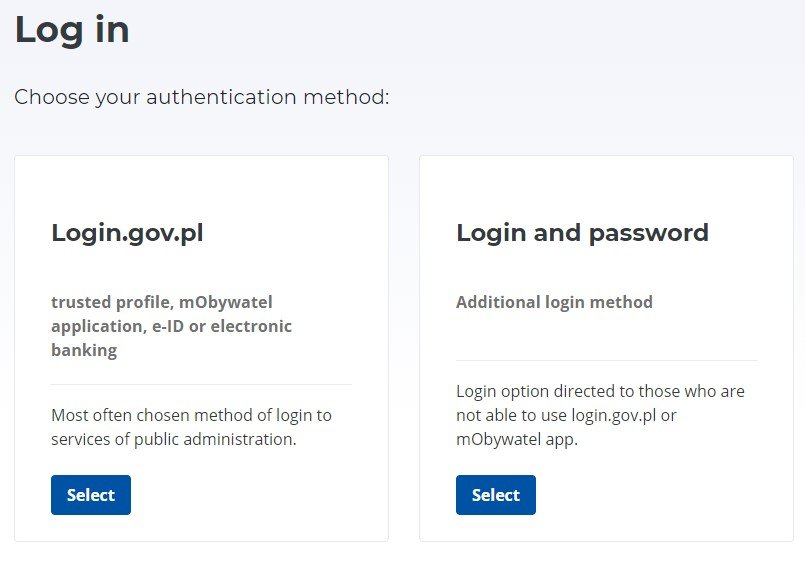
Choose Select under “Login and password”
On the new page, in the second module under Login and password, choose Select.
Create account
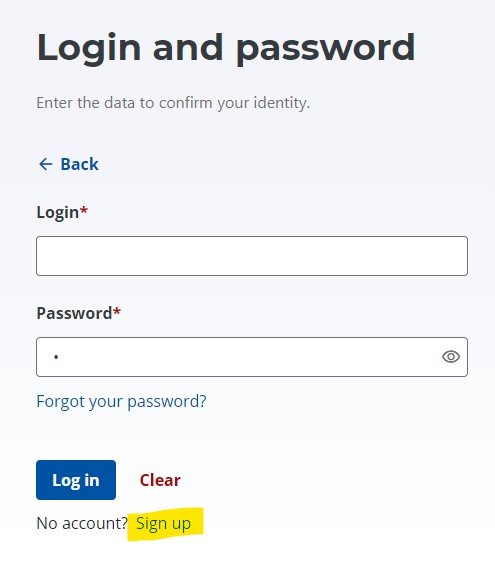
Click “Sign up”
At the bottom of the login and password section, find and click Sign up.
Create account
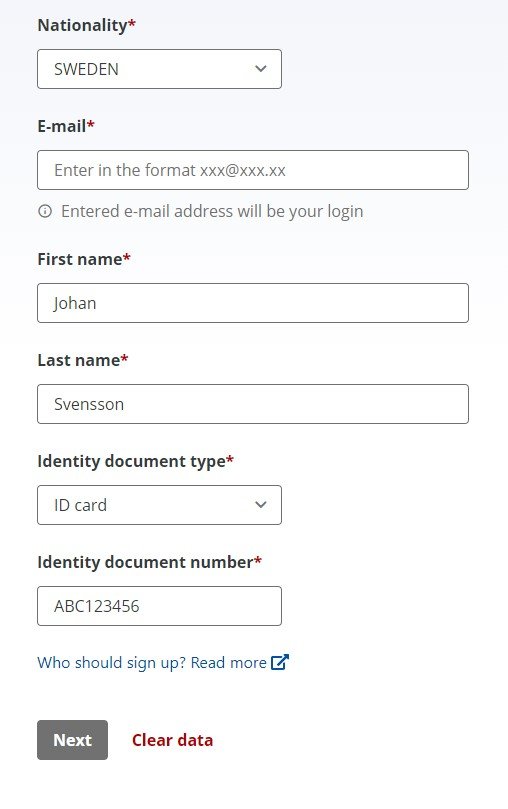
Enter your details
Enter your details and all required information. When ready, click Next.
Create account
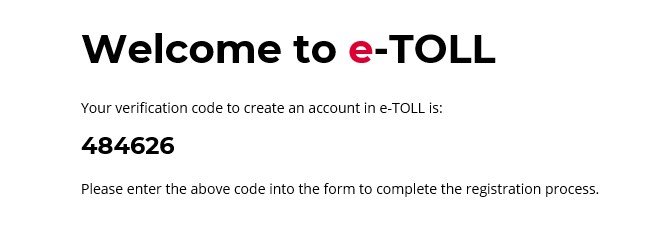
Check your email
You will receive a welcome email from eToll with a six-digit code.
Create account
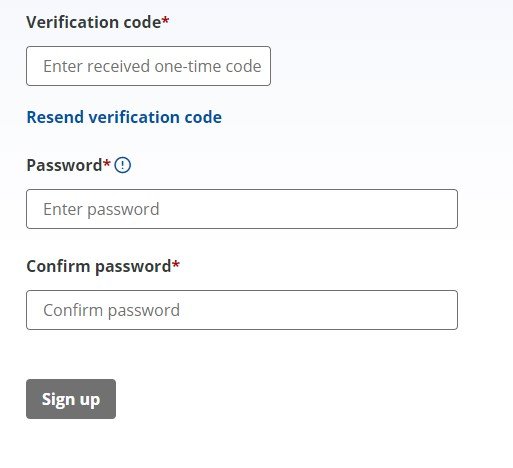
Verify the code and create a password
Verify the code on the website and create a password for your eToll account.
Important: save your password.
Create account
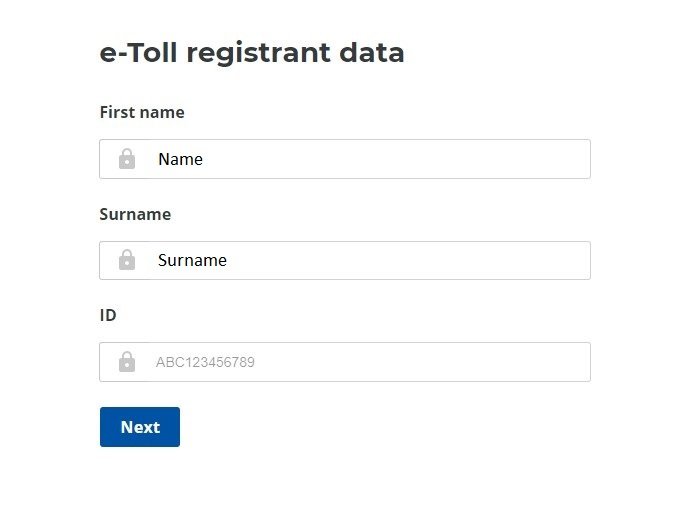
After login, click Next
After logging in, you will see your name and surname on the screen. Click Next.
Create account
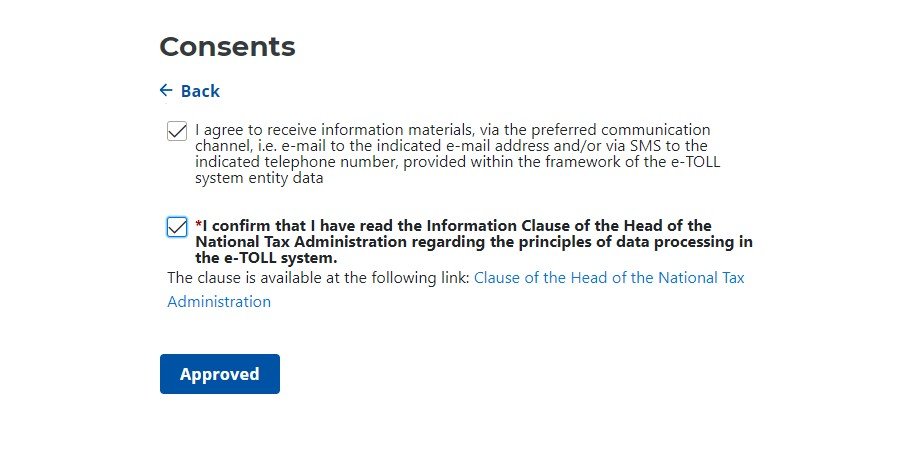
Accept the terms of service
On the next page, accept the terms and conditions of using the service and click Approved.
Create account
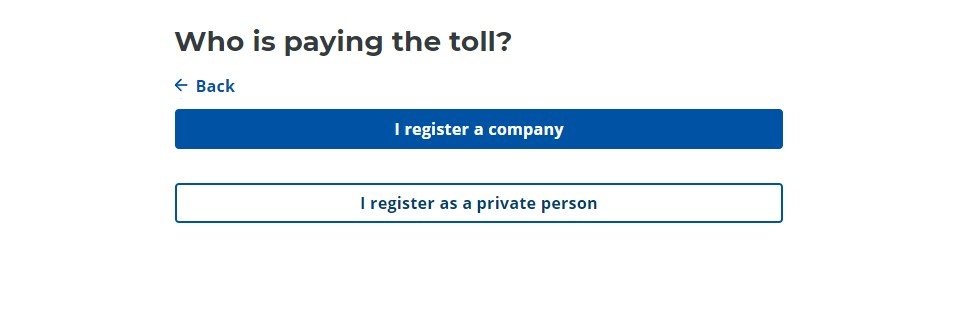
Choose registration type
On the next page, choose the option that applies to you. As a private person, choose I register as a private person, unless you are registering as a company.
Create account
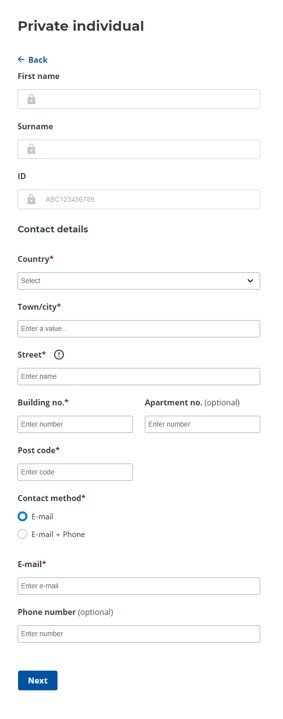
Enter personal and contact details
On the next page, enter your personal and contact details and submit them by clicking Next.
Create account
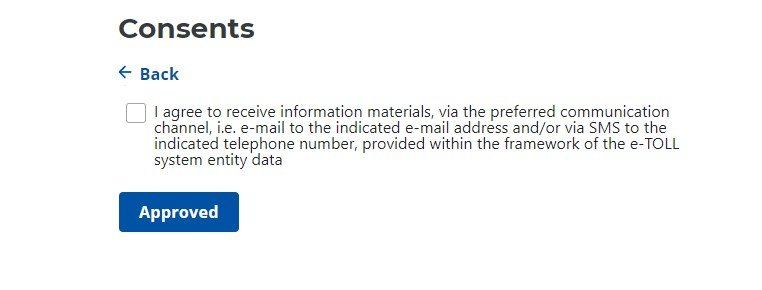
Approve eToll information notices
On the next page, under Consents, approve receiving information from the eToll service and choose Approved.
Create account
Go to subject list
Your account has been created successfully. In the next step, click Go to subject list.
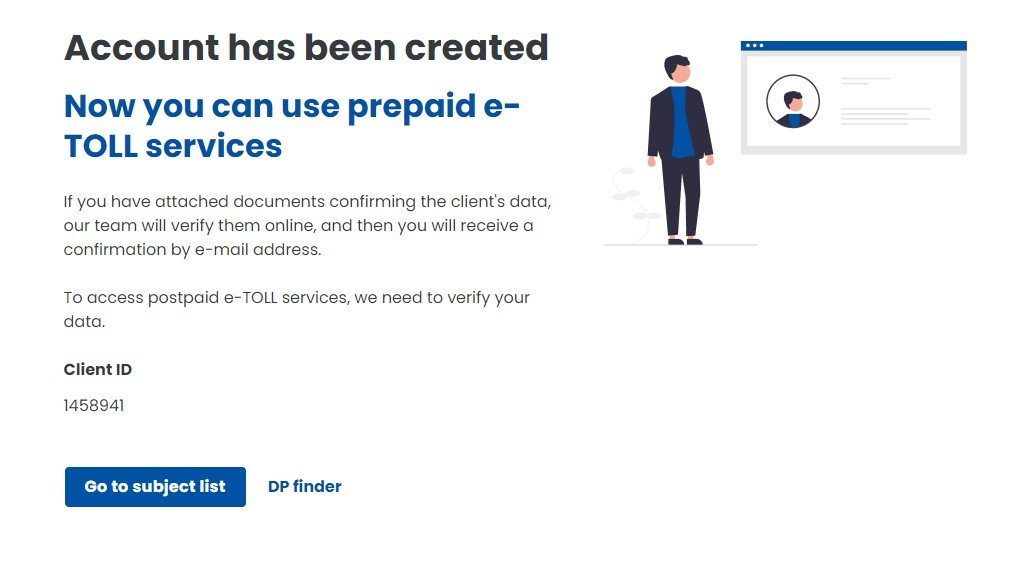
Create account
Select your name
On the List of parties page, click your NAME and SURNAME.
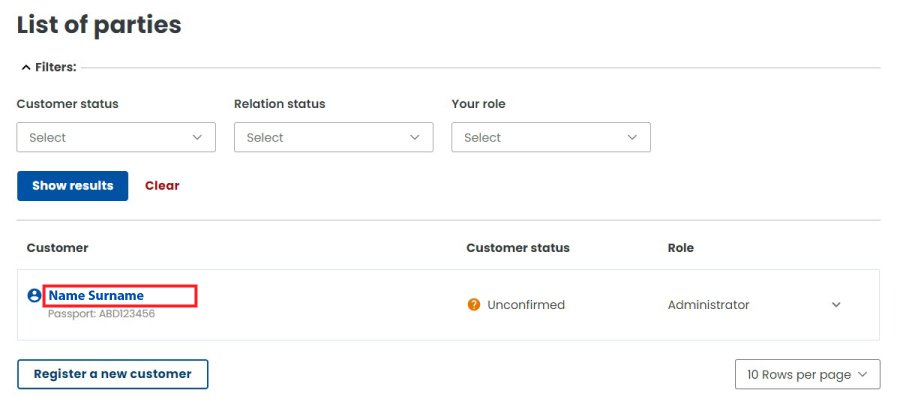
Create account
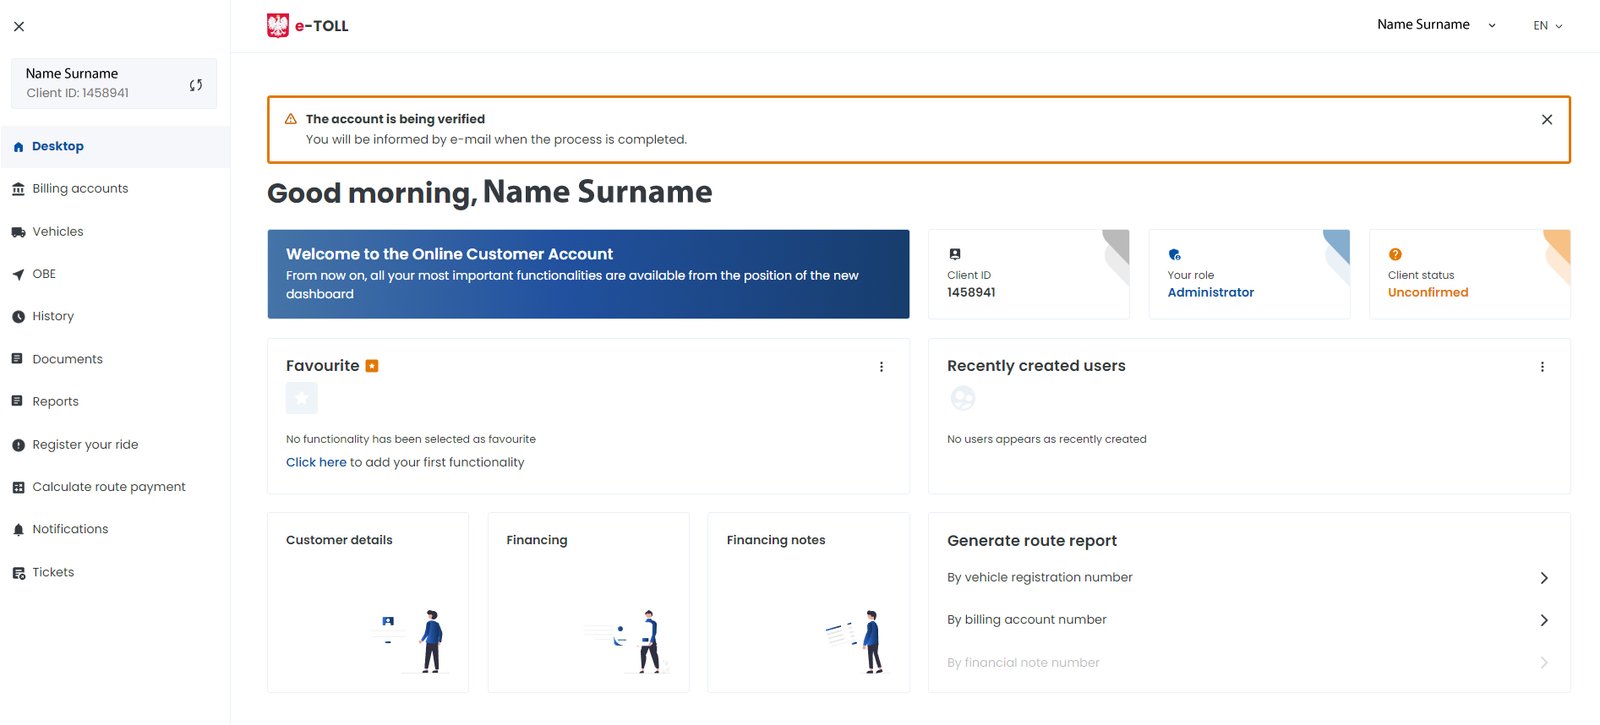
Review customer details summary
On the new page, you will see a summary of all customer details.
Billing account
Create billing account
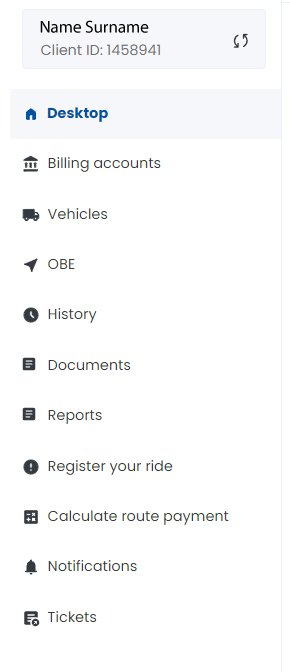
In the menu on the right side of the page, choose Billing accounts, then Create billing account at the bottom of the page.

Billing account
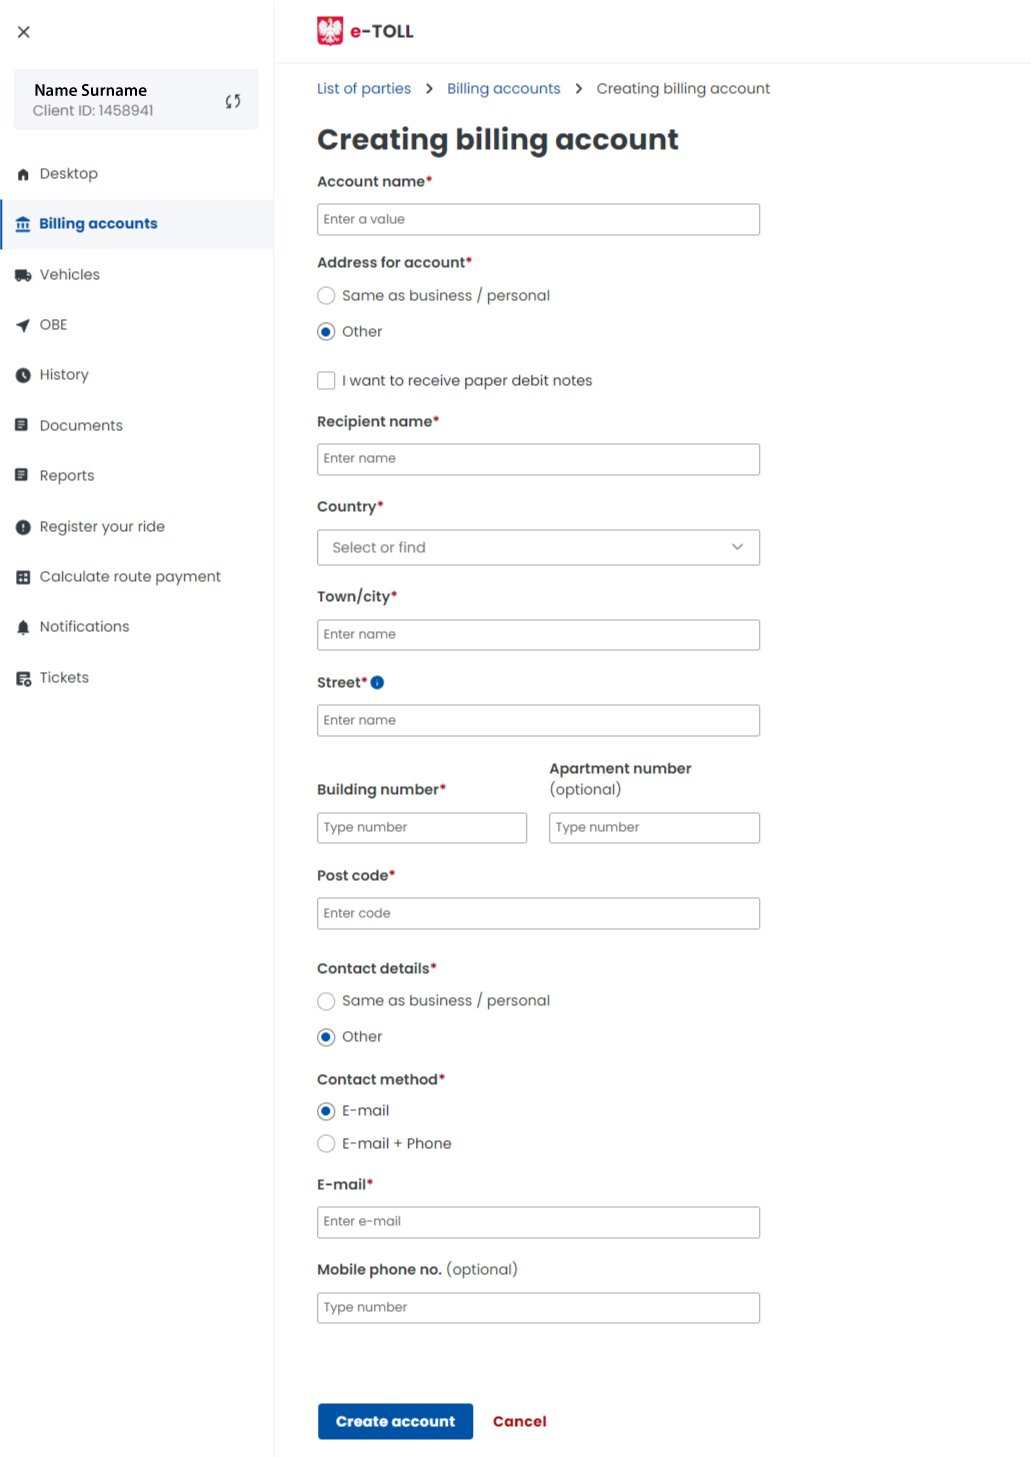
Complete billing account details
In this step, enter the account name, for example Etoll account. You can choose address for note, meaning that a summary of your travel history and charges is sent to your home address. Complete the remaining information or choose Same as business / personal and submit the details by clicking Create account.
When creating a billing account, you can choose to receive a paper specification of your travel history and charges at home.
Billing account
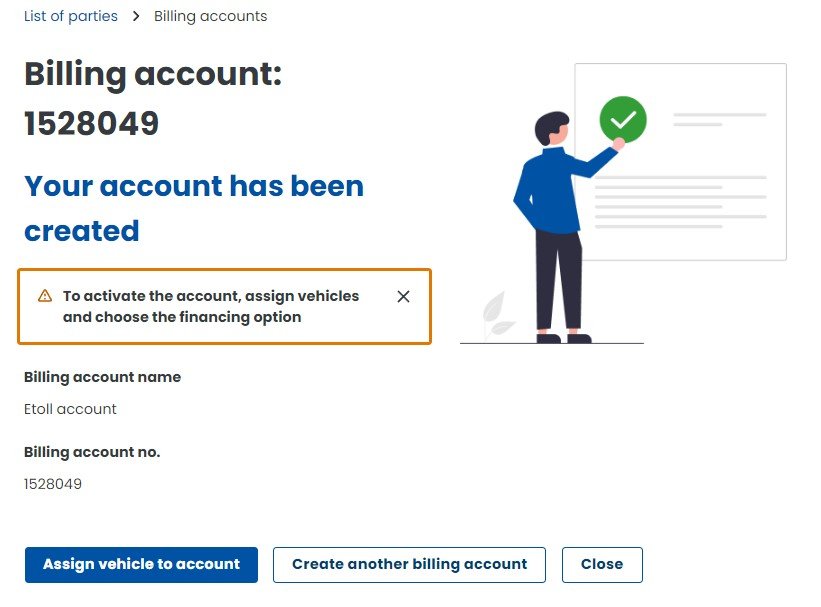
Confirm account creation
You will see confirmation that the account has been created. Then choose Close.
Vehicle
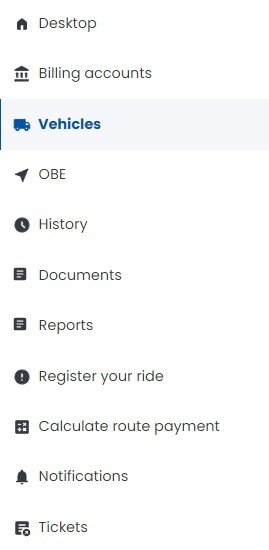
Go to the Vehicles menu
In the next step, go to the left-side menu under your name and choose Vehicles.
Vehicle
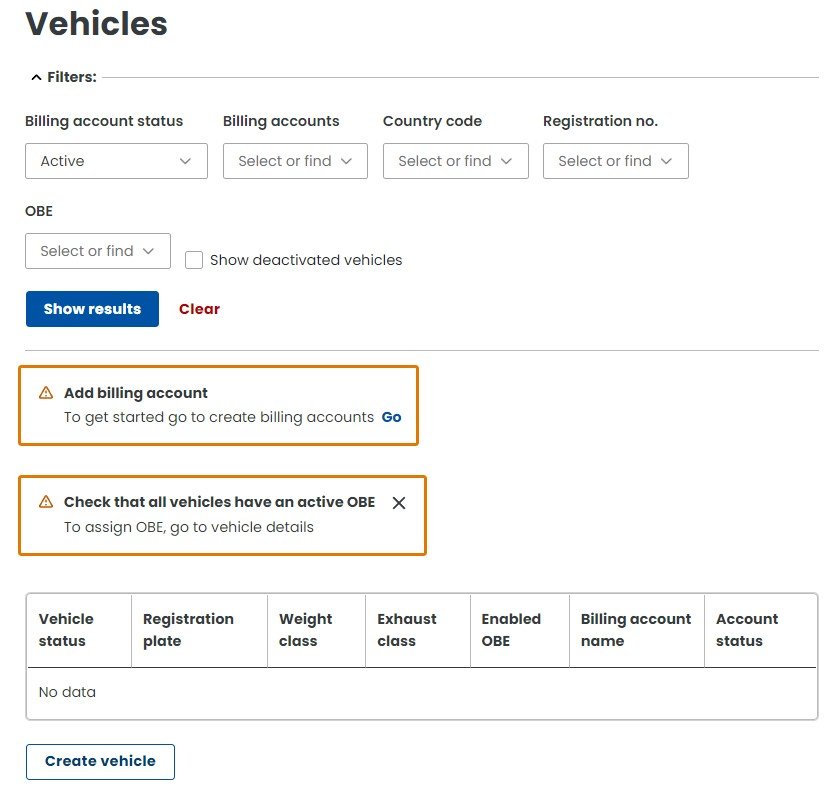
Click Create vehicle
On the new Vehicles page, at the very bottom, click the Create vehicle button.
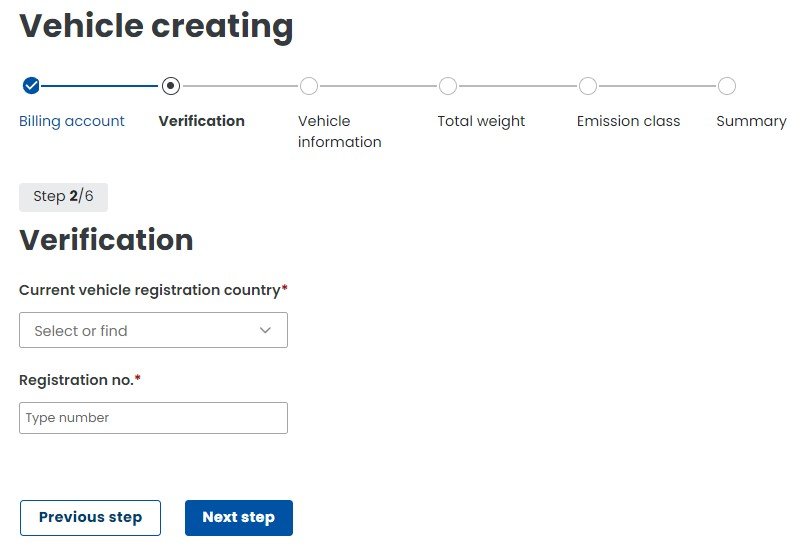
Vehicle registration
22. The next six screens register your vehicle for driving on Polish toll roads
Keep your vehicle registration certificate ready. Enter the details carefully and make sure they match the registration certificate.
Select billing account
From the dropdown, choose the name of the billing account you created earlier, for example “Etoll account”. Then select Next Step.

Enter registration number
Select the vehicle registration country. Enter the vehicle registration number and select Next Step.
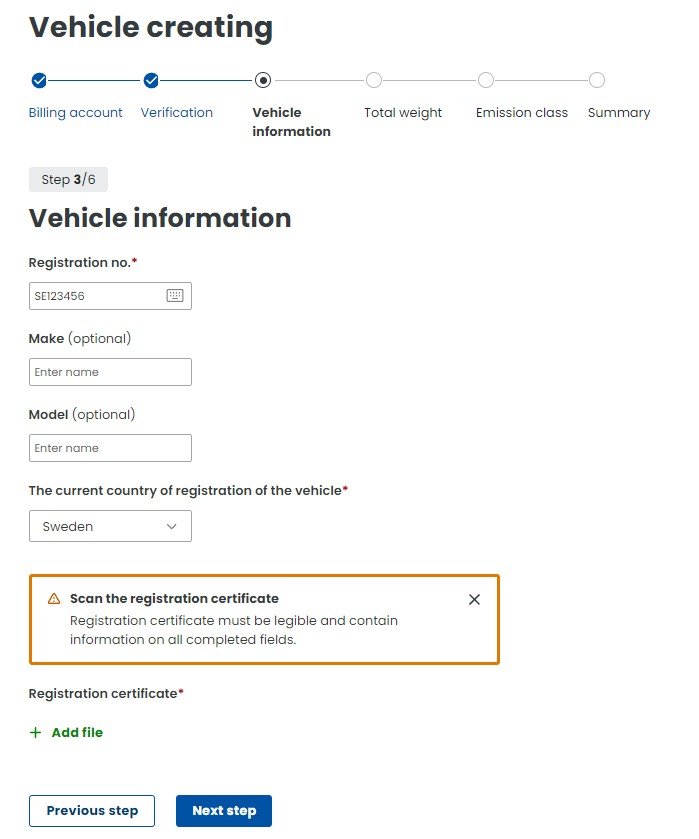
Upload registration certificate
Enter the vehicle make and model if required, and select the registration country. Scan or photograph the vehicle registration certificate so that all required details are clear and match the data entered on the website. Attach it using +Add file. e-TOLL staff may verify the submitted data manually. Click Next.
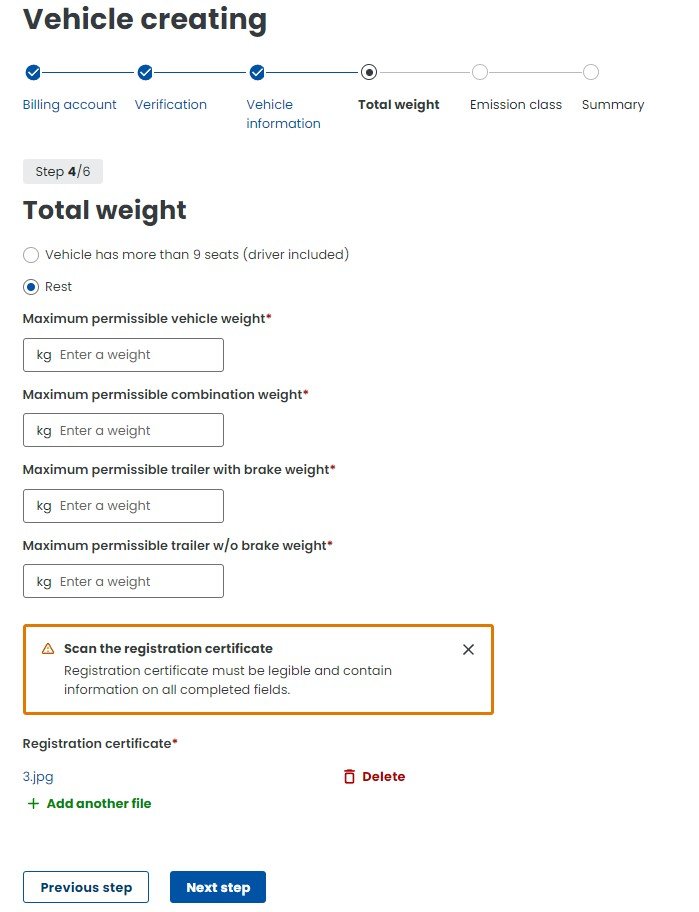
Add weight details
Select the correct options and complete the missing fields. Enter the maximum authorised vehicle weight and the maximum authorised combination weight if you use a trailer. If a trailer is included, also enter the permitted trailer weight with and without brakes. When finished, click Next Step.
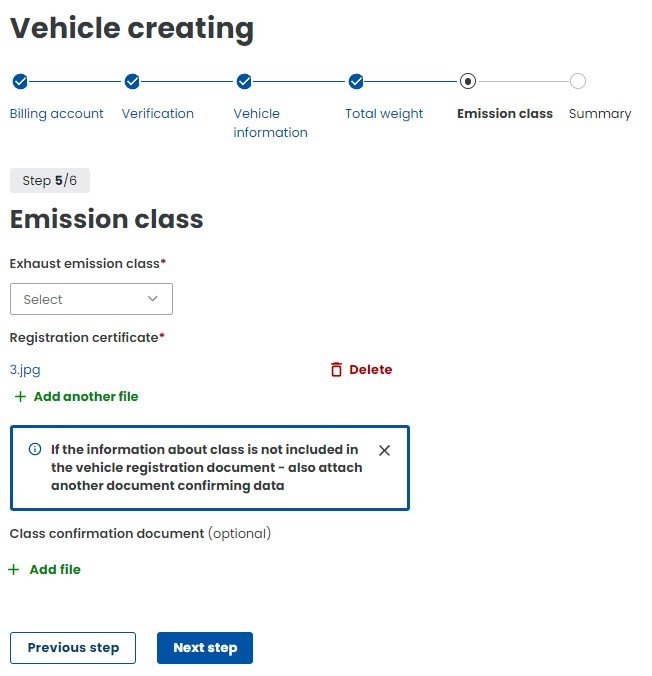
Choose emission class
Select the vehicle exhaust emission class. If the uploaded registration certificate includes the emission class, you do not need to add more documents. Otherwise, attach a separate scan proving the emission class. Select Next Step.
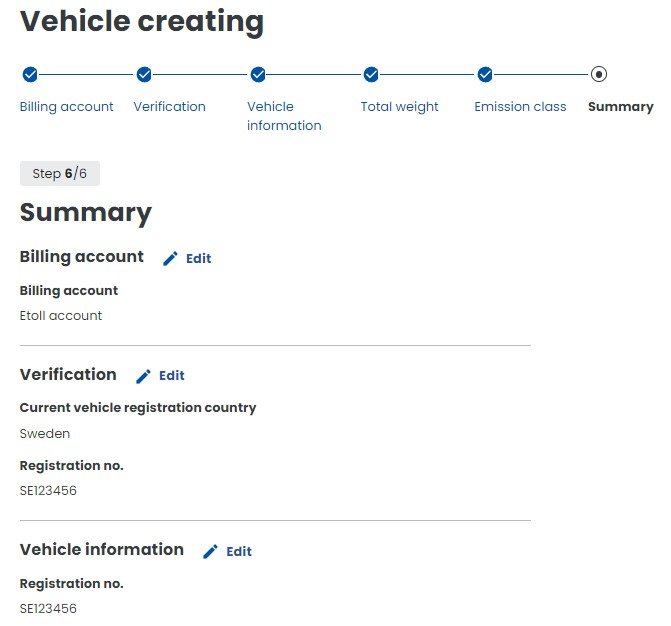
Review and create vehicle
You will see a summary of all submitted details. At the bottom of the page, select Create vehicle to confirm. If you need to correct information, use the edit button in the relevant summary category.
OBE and mobile app
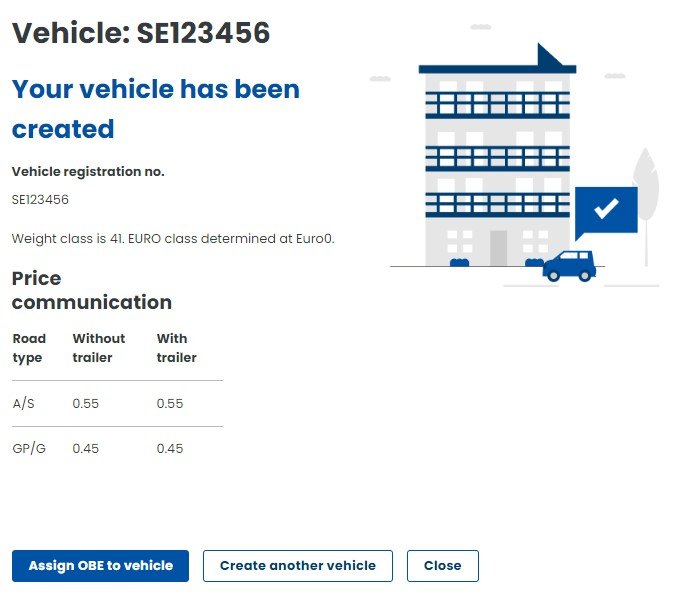
Choose Assign OBE to vehicle
After submitting all details, you will see a summary of your vehicles. Now choose Assign OBE to vehicle, the blue button at the bottom of the page.
OBE and mobile app
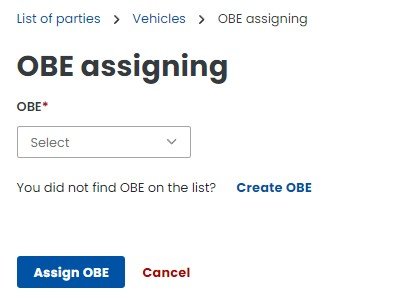
Create OBE
On the new OBE assignment page, choose the blue text Create OBE. You can also find OBE in the main menu on the left and choose Create OBE in the next step.
OBE and mobile app
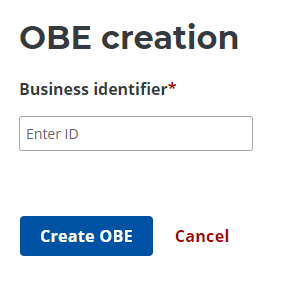
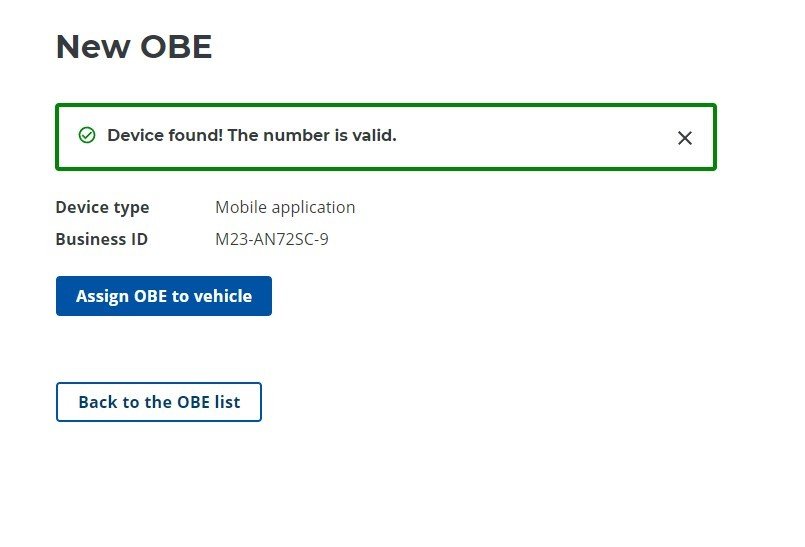
Download the e-TOLL PL app
You will see the new OBE creation screen. To enter the Business ID, download the e-TOLL PL app from the App Store or Google Play to your mobile device.
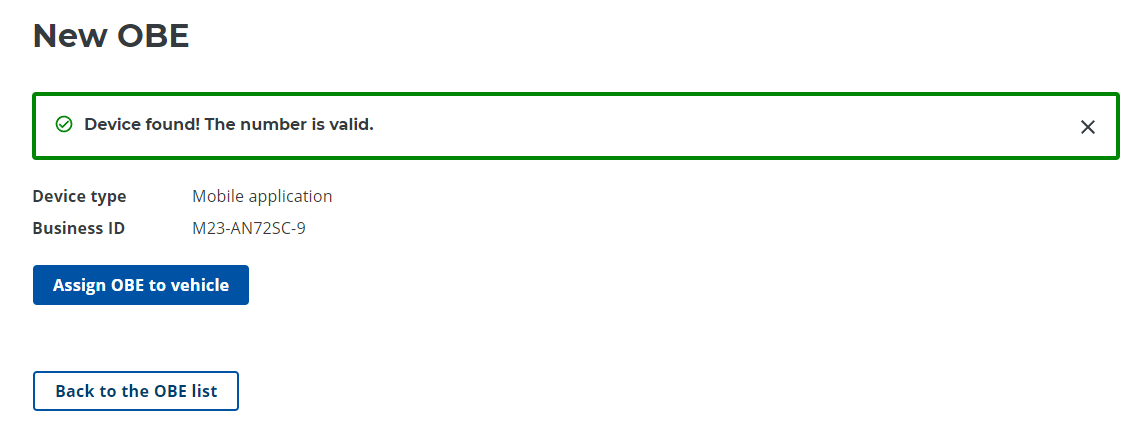
OBE and mobile app
Enter Business ID
After downloading the app and accepting the terms on your phone, you will see the Business ID at the bottom of the app. The code may start with M23-... or M24-.... Enter the Business ID on the OBE screen and click Create OBE. You should receive confirmation that a new OBE device has been created.
OBE and mobile app
Choose Assign OBE to vehicle
On the same page, choose Assign OBE to vehicle.
If you receive the warning The vehicle must be active in the system!, it means the vehicle details you submitted earlier have not yet been manually confirmed by e-TOLL staff. Confirmation and status change may take some time.
To check the status, choose Vehicles in the menu and scroll down until you see the vehicle registration number and status. The change from Not enabled to active usually happens quite quickly.
If you do not get an error message, continue to the next step. Otherwise, wait until the status is updated.

OBE and mobile app
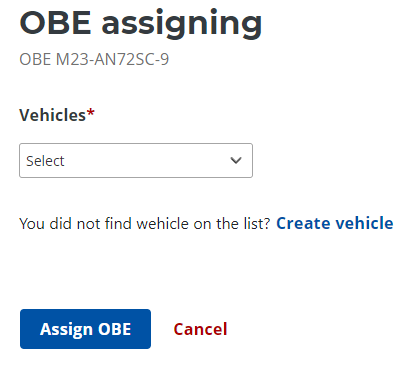
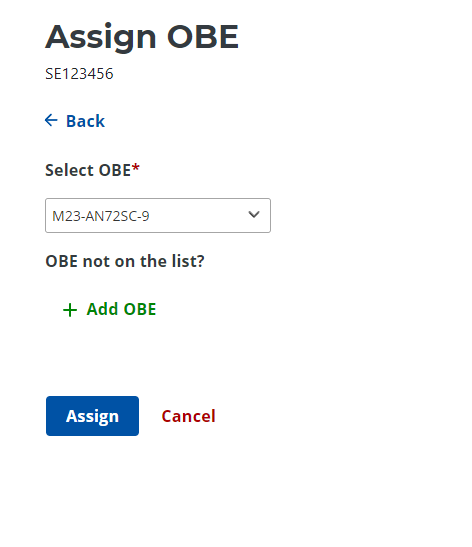
Assign OBE to your vehicle
On the new screen, assign OBE to your vehicle. Choose the vehicle from the dropdown, select the registration number and click Assign OBE.
Payment and final check
Top up your e-TOLL account
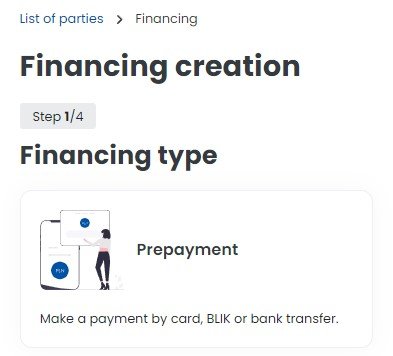
In the meantime, you can add funds to your e-TOLL account. Go to Billing accounts and choose the blue text Create financing in the table. Continue by following the on-screen instructions a–e.
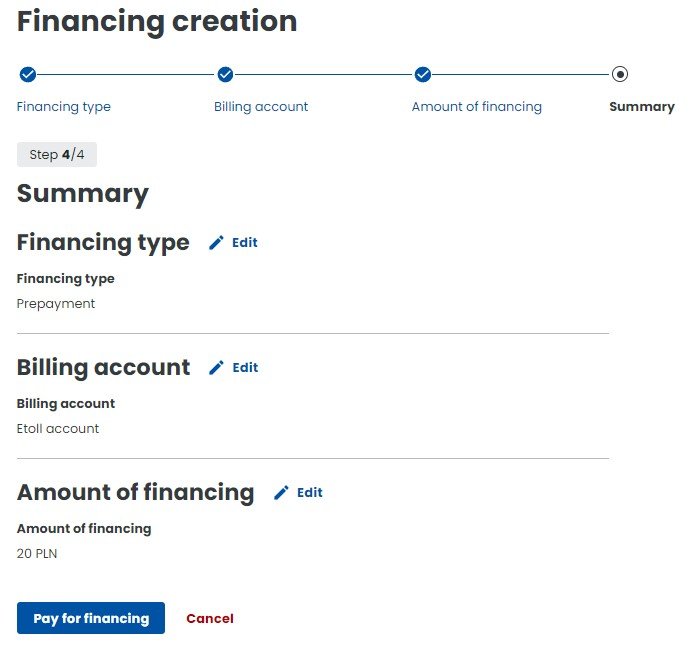
a. On the new Financing creation screen, choose Prepayment and pay by debit or credit card.
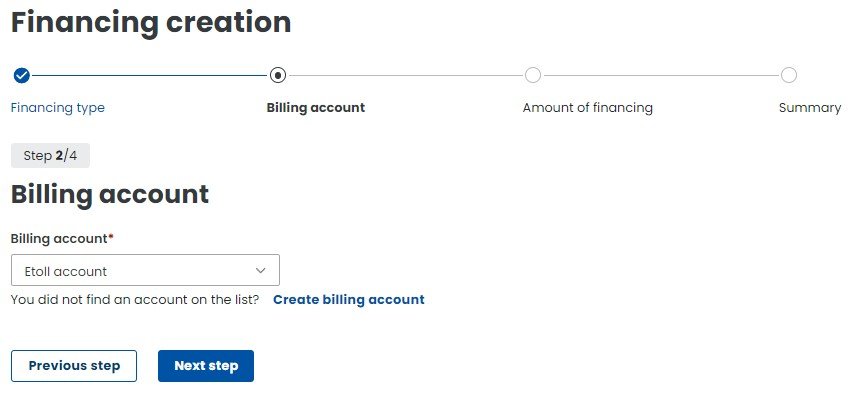
b. Select the name of the previously created billing account from the dropdown. Once selected, click Next step.
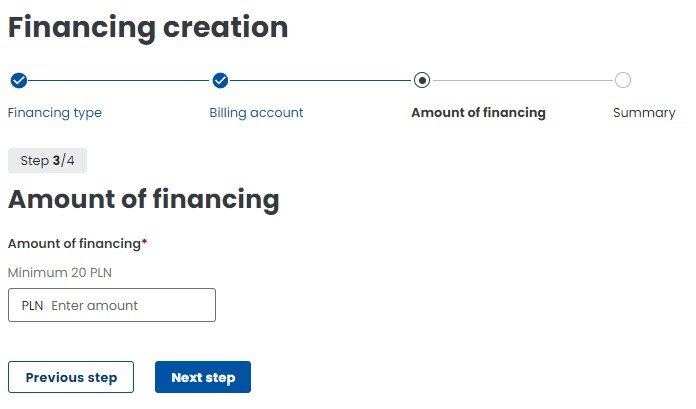
c. Enter the amount you want to top up your e-TOLL account with. The minimum top-up amount is 20 PLN.
d. In the next step, choose Pay for financing.
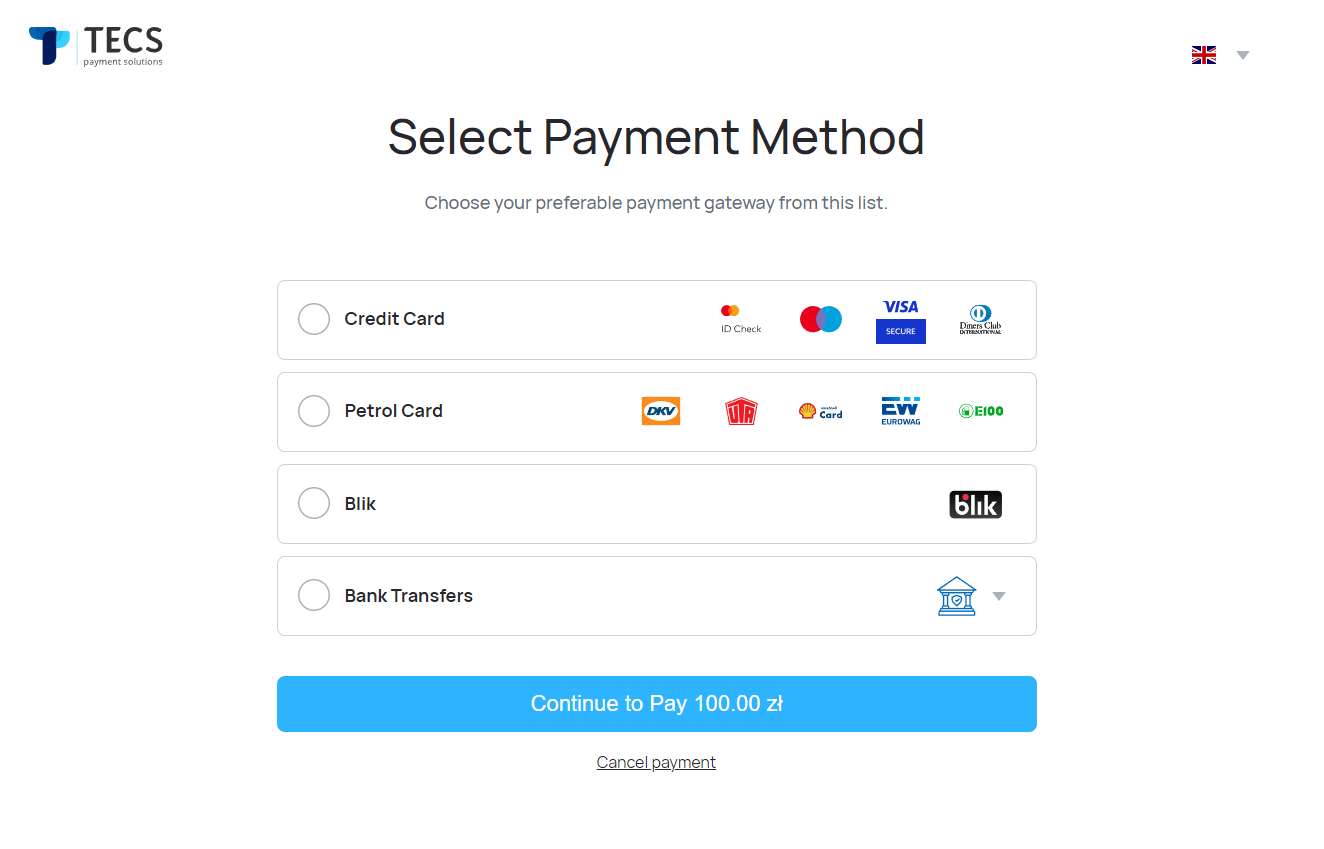
e. Choose the payment method and complete the payment.
Payment and final check
Wait until the status changes to enabled
Once the status has changed to enabled, you can return to OBE in the main menu and create OBE as described in step 25. Otherwise, wait until the status changes.
Payment and final check
Manage your account
If you have successfully entered the Business ID in the OBE panel and submitted it, you should now be able to manage your account.
Payment and final check
Check your account before driving
When you are in OBE mode, choose the blue text Assign OBE to vehicle. On the new screen, choose your vehicle registration number from the dropdown and click Assign.
Check your account
To check that all registration details are correct, first choose Billing account again and check the status in the table. The account status should change to Assigned. Then choose Vehicles in the left menu. The status next to the registration number should be enabled. Also go to the OBE category and confirm that OBE status is enabled.
When all statuses are green and the app is installed on your phone, you are ready to drive.
When you arrive in Poland
Start the e-TOLL PL app
While in Poland, start the e-TOLL PL app on your phone so GPS can locate your position and the app can work. The e-TOLL service will automatically deduct Polish toll charges from your e-TOLL account. Make sure there is enough money on the account.
If the trip is not registered
If your phone breaks or another problem prevents the trip from being registered, you can manually report the trip by choosing Register your ride in the menu.
There you can choose the vehicle emission class and weight class, set waypoints and route type. The calculator gives the exact amount in Polish złoty (PLN) for the tolls and helps you estimate how much money you should keep on your prepaid e-TOLL account.
Refund after the trip
If you want to refund the remaining balance on your eTOLL account, follow the instructions below.
1. Log in
Log in to your eTOLL profile at https://etoll.gov.pl/en/. It is recommended to do this on a computer or tablet, not on a phone.
2. Choose Tickets
Choose Tickets at the bottom of the menu.
3. Choose Create issue
Then choose Create issue.
4. Choose Financial
In the Application form window, choose Financial and then select the subject. You can request a refund or a refund and account closure.
5. Describe your request
Describe your request. The refund is usually paid within a few days to the card used for the payment.
